Connect Tallac AP to Brocade SDN Controller
Connecting Tallac Acces Points to the Brocade Vyatta Controller:
The Tallac Access Points are a good choice for getting first experiences with wireless SDN solutions. These Access Points are cloud managed, and additionally support the OpenFlow 1.3 standard. This allows the Brocade Vyatta controller to manage dataplane forwarding on these devices, and gives the users access to the network applications written on the BVC controller.
Many controllers have problems working with devices that only have one Ethernet port, as access points often have. In this case, the controllers need to support inband control planes for these devices, which often creates problems. Luckily, Tallac Access Points provide two Ethernet ports, and by that allow an easy way around this problem using their so called “Gateway mode”. In this mode, the Access Point uses its eth1 interface to connect the control and management plane, whereas the radios and the ethernet0 port get natted to the address received on eth1. This works exactly as the out of band connections often used for wired openflow switches.
We will now walk through all the steps necessary to connect a Tallac AP to the BVC Controller. In this example, the BVC controller is already installed and running at the IP Address 192.168.201.4. The access point is in default mode, with eth0 connected into this network. The network itself is natted to the outside world be a router. We can see our AP in the standard cloud management console www.tallac.com. As you can see the Access point is connected to the cloud management, and has the IP 192.168.88.144.
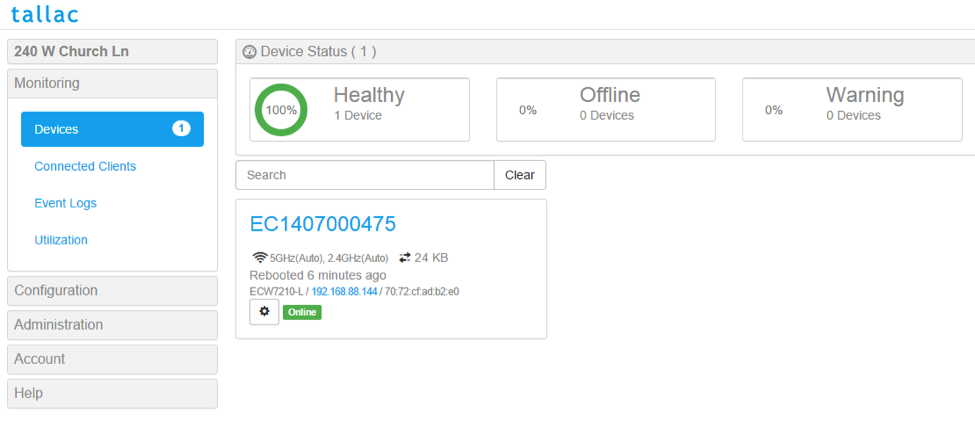
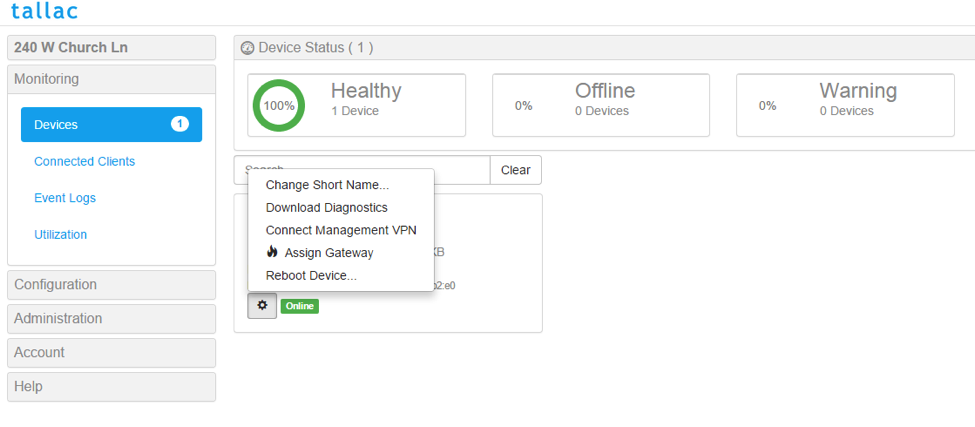
To avoid possible problems with inband control, we will now activate gateway mode on the Access Point. First, disconnect ethernet0 and connect Ethernet1 to your network. Make sure the Access Point still has power, for example by using an external powersupply instead of POE on ethernet0. The device should reconnect to cloud, and work exactly as before. Now, we right clicking on the device which opens a new menu, and we choose the Assign Gateway option:
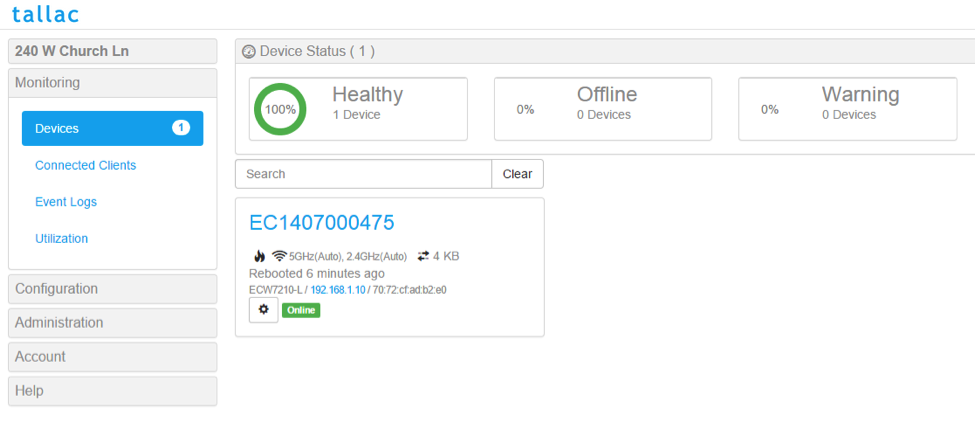
It will take a few seconds for the setting to take effect. You will recognize that the gateway mode is enabled by the ip address changing to the internal IP of the newly created natted network instead of the outbound IP seen before.
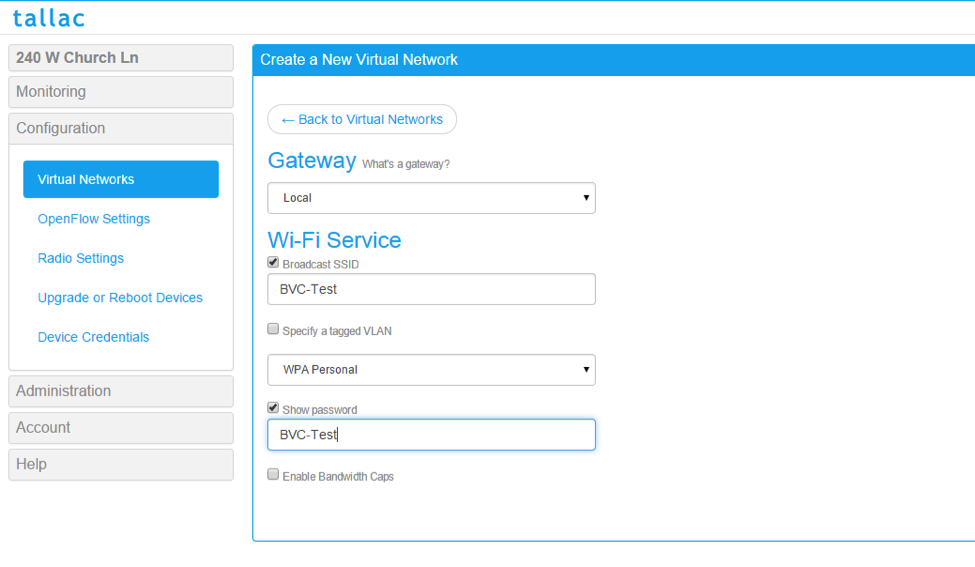
We will now create our first VNET by clicking Configuration – Virtual Networks - New:
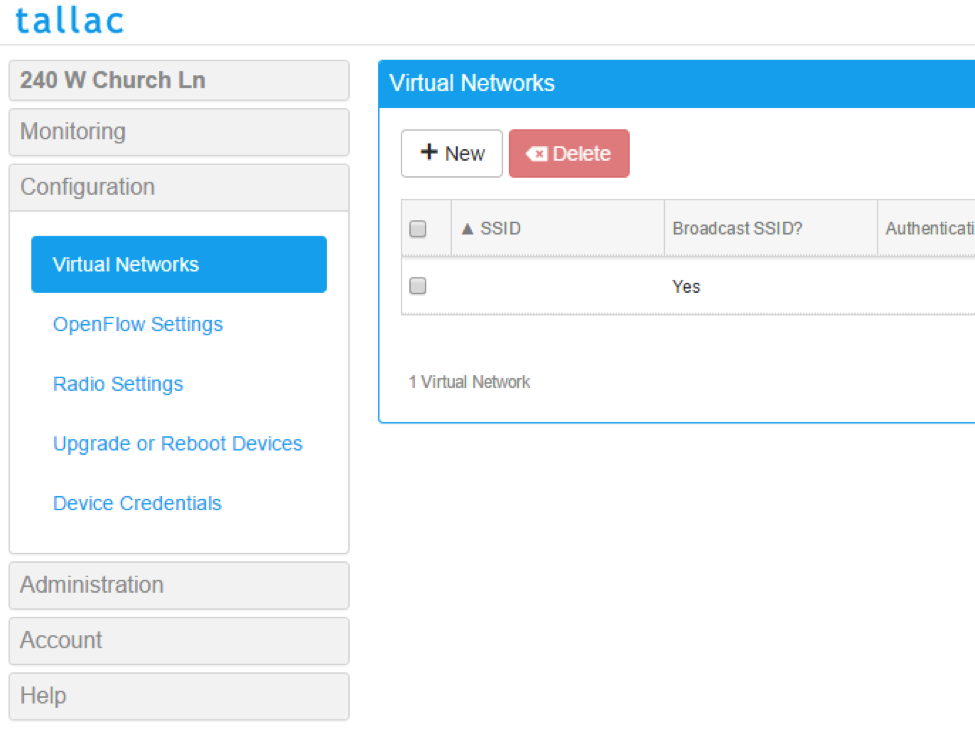
We create in this example a new VNet with the SSid BVC-Test attached to it, password will also be BVC-Test. It will use the local Gateway, and the traffic will be untagged.
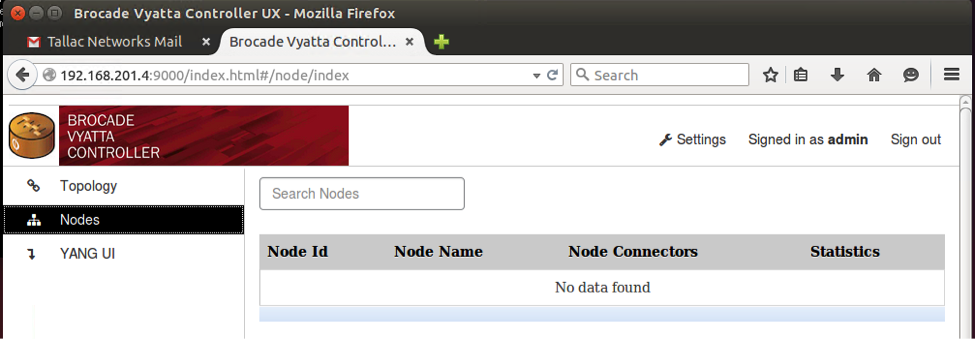
The Controller is running, but no Openflow device is connected yet.
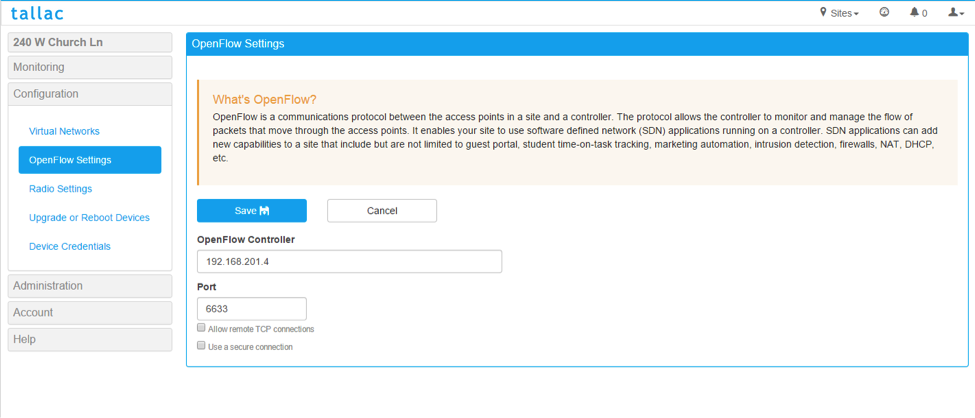
We will now enter the BVC Controller IP into the openflow configuration of the Access Point’s site, this will automatically trigger the connection:
After a short waiting period the Access Point is connected to the BVC controller, and can be seen on the node list and topology.
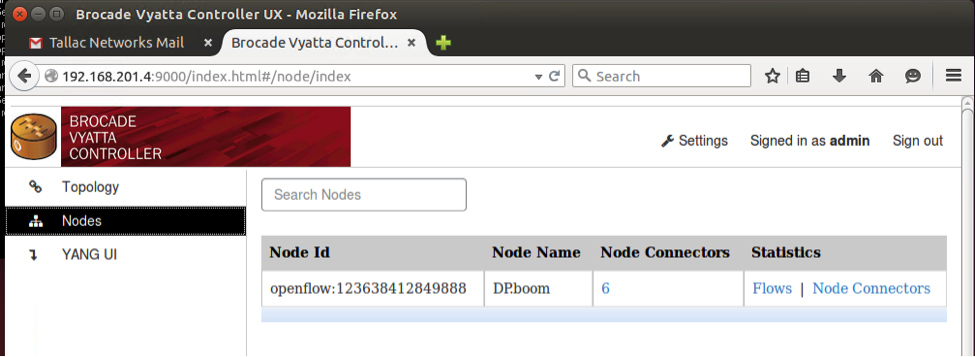
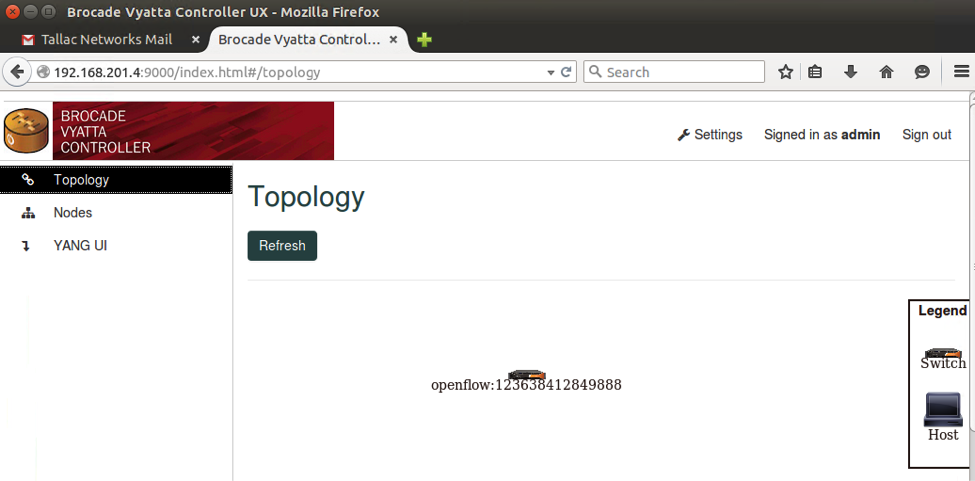
Now the access point can be controlled and monitored by BVC, and our cloud portal for the non openflow parts of the management.